


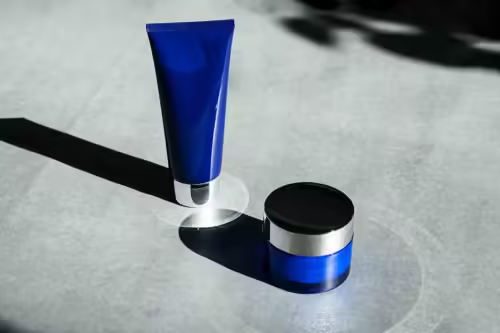
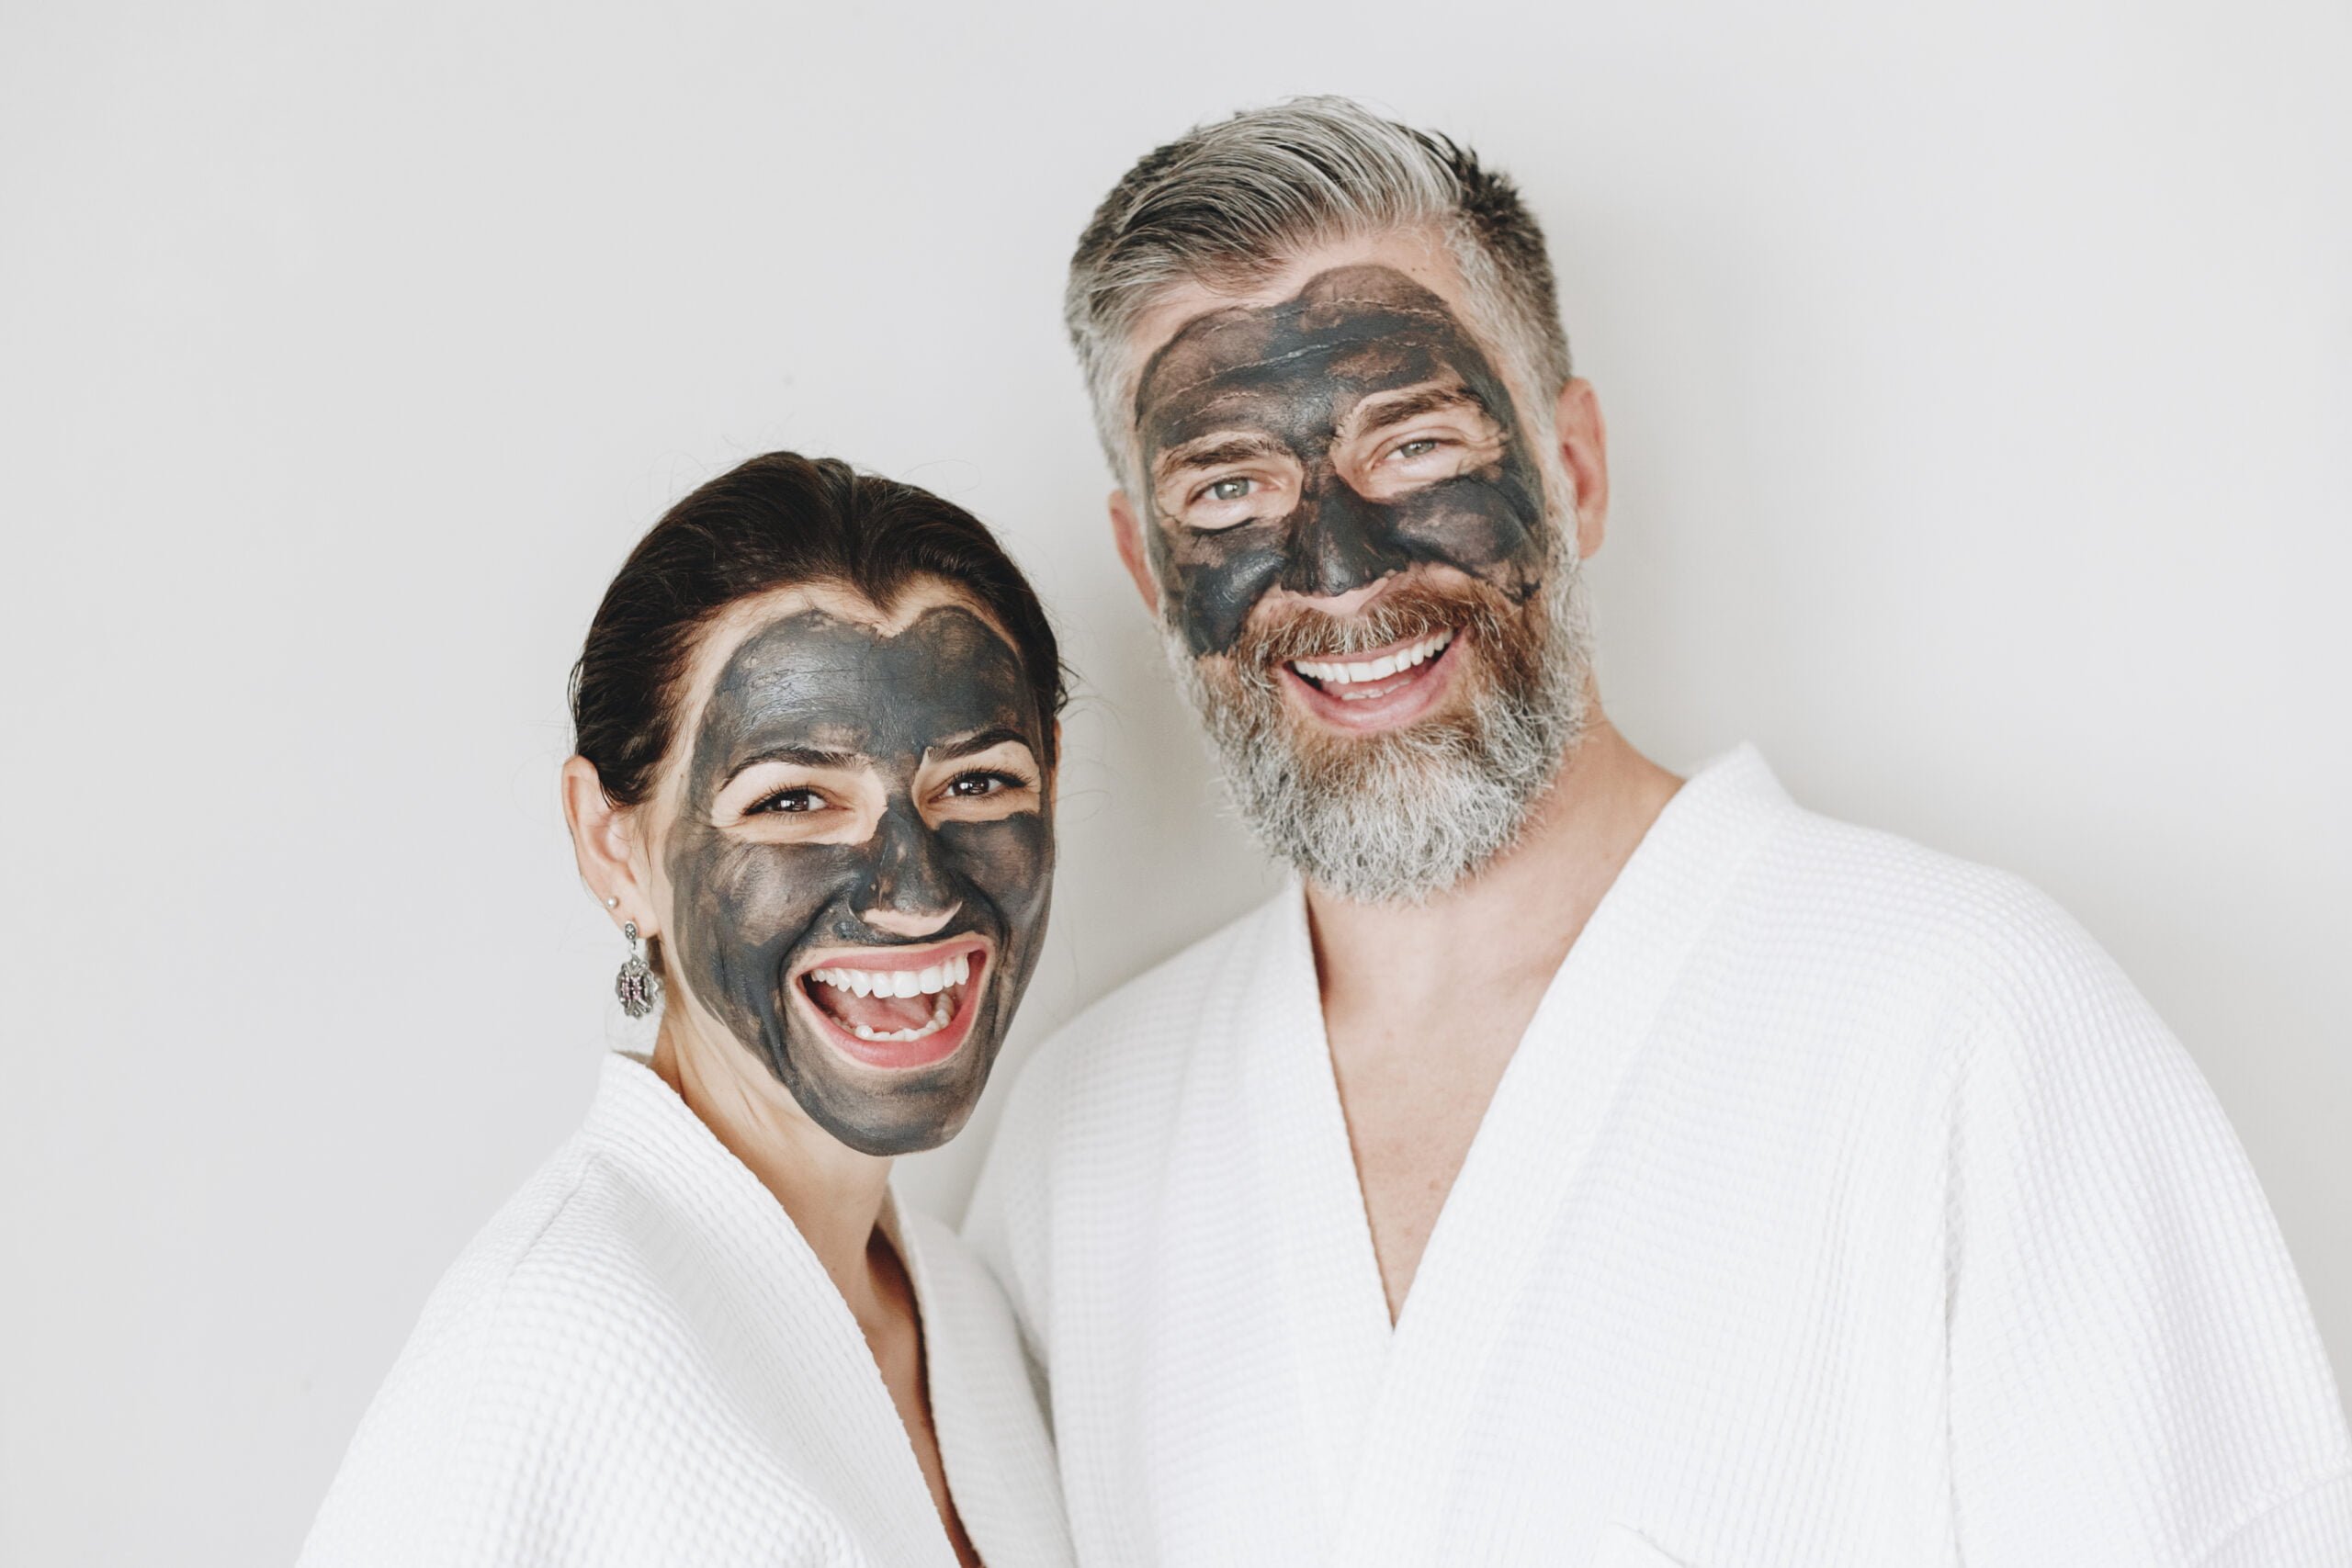
Hey Aussie beauties! We all know the struggle is real when it comes to finding the time and cash for fancy facials. But who says you can’t achieve a radiant complexion without breaking the bank? ✨ Today we’re sharing 3 super easy DIY mask recipes using ingredients you might already have in your kitchen!
Bonus: These masks are all made with natural ingredients, so they’re gentle enough for even the most sensitive skin. Let’s get glowing!
1. Honey Yoghurt Hydrating Mask:
Dry, flaky skin? This mask is your BFF! Honey is a natural humectant, which means it attracts moisture to your skin, leaving it feeling plump and hydrated. Yoghurt soothes and provides a gentle exfoliation, revealing a brighter, smoother complexion.
Ingredients:
- 1 tablespoon honey (raw, Manuka or medical grade are best)
- 1 tablespoon plain yoghurt
Directions:
- Mix the honey and yoghurt in a bowl until you have a smooth paste.
- Apply a thin layer to your clean face and leave it on for 15-20 minutes.
- Rinse thoroughly with warm water and pat your face dry.
2. Brightening Turmeric Mask: ✨
Looking to banish those stubborn dark spots and uneven skin tone? This turmeric mask is your go-to! Turmeric is a natural brightening agent that helps to fade hyperpigmentation and give you a more radiant complexion.
Ingredients:
- 1 tablespoon plain yoghurt
- 1/2 teaspoon turmeric powder (organic is best)
- 1 teaspoon honey (raw, Manuka or medical grade are best)
- 1 teaspoon lemon juice (freshly squeezed)
Directions:
- In a bowl, combine all ingredients and mix well to create a smooth paste. Important: Do a patch test first! Apply a small amount to your inner arm and wait 24 hours. If your skin isn’t irritated, proceed.
- Apply a thin layer of the mask to your cleansed face, avoiding the eye area.
- Leave the mask on for 15-20 minutes.
- Rinse thoroughly with warm water and pat your face dry.
Heads up: Lemon juice can be drying, so be sure to moisturize after using this mask. If you have sensitive skin, skip the lemon juice or dilute it with some water.
3. Berrylicious Anti-oxidant Mask: 🫐
Fight free radicals and keep your skin looking youthful with this antioxidant-rich berry mask! Berries are packed with vitamins and antioxidants that help protect your skin from damage and promote a healthy glow.
Ingredients:
- 1/4 cup mashed fresh berries (strawberries, blueberries, raspberries)
- 1 tablespoon plain yoghurt
- 1 tablespoon honey (raw, Manuka or medical grade are best)
- 1 tablespoon chia seeds (optional – adds a gentle exfoliating texture)
Directions:
- Mash the berries in a bowl until you have a smooth puree.
- Add the yogurt, honey, and chia seeds (if using) and mix well to combine.
- Patch test first! Apply a small amount to your inner arm and wait 24 hours. If your skin isn’t irritated, proceed.
- Apply a thin layer of the mask to your cleansed face, avoiding the eye area.
- Leave the mask on for 15-20 minutes.
- Rinse thoroughly with warm water and pat your face dry.
Tip: Frozen berries work too! Just thaw them completely before using.
So there you have it! Three easy and affordable DIY masks to keep your skin glowing from the inside out. Remember, consistency is key! Try incorporating these masks into your weekly skincare routine and see the difference for yourself or to book a professional mask at Hamilton Skin Clinic, book online.